Cappuccino
A cappuccino without an espresso machine
What you are actually making
Be honest about the drink first, because it makes every decision afterwards easier. A moka pot and an AeroPress both produce concentrated coffee. Neither produces espresso, which is defined by around nine bars of pressure and shows up in the cup as crema and as a particular syrupy weight. Without the pressure there is no crema, and the coffee sits lighter under the milk.
What you can reproduce exactly is the ratio, and the ratio is what people recognise. A cappuccino is a third coffee, a third steamed milk and a third foam, in a 150–180 ml cup. Hit that with concentrated coffee and a decent foam and you have a drink that reads as a cappuccino to anyone drinking it. Miss it, and no amount of good coffee helps.
The coffee base
Moka pot. This is the closer of the two, because the coffee comes out hot, dark and genuinely concentrated. Fill the lower chamber with hot water to just below the valve, fill the basket level with a fine grind and do not tamp it, and put it on a low flame. Take it off the heat when the stream turns pale and starts to sputter, and run the base under a cold tap to stop the extraction. For a 150 ml cup you want about 50 ml of moka coffee, which is roughly a three-cup pot’s worth for two drinks.
AeroPress. Use it at its most concentrated: 18 g of finely ground coffee, 60 ml of water at 90 °C, stirred for ten seconds, then pressed slowly over about thirty seconds. That gives you a thick, clean shot-sized coffee with far less of the bitterness a moka pot can bring. Plunge gently. Pushing hard forces water through too fast and drags harshness with it.
Either way, get the coffee into the warmed cup before you start on the milk. The coffee waits better than the foam does.
Three ways to foam milk with no wand
All three follow the same rule: heat and aeration happen separately, so aerate cold and then heat, or heat and then aerate fast. Nothing here should go past about 60 °C, and milk taken past 65 °C tastes cooked whatever made it hot.
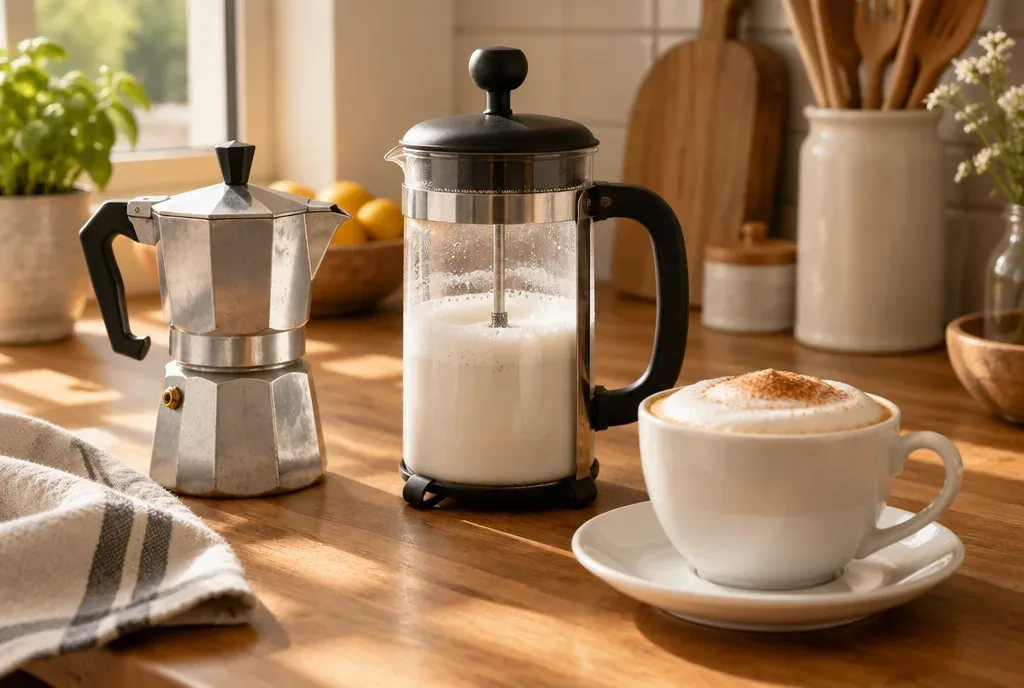
The French press. The most volume of the three, and you may already own one. Heat 120 ml of whole milk to about 60 °C, pour it into a clean press, and plunge briskly for 30 to 40 seconds. Keep the plunger under the surface so you are shearing the milk rather than splashing it. Give it a firm tap on the counter and a swirl before pouring.
A handheld frother. The cheapest tool worth buying, and it gives the finest bubbles. Heat the milk to 60 °C in the jug you will pour from, hold the whisk just under the surface for 10 seconds to draw air in, then sink it lower and run it for another 15 seconds to break the bubbles down. That second stage is what most people skip, and it is the difference between microfoam and bubble bath.
A jar and a microwave. No equipment at all. Half fill a jar with cold milk, screw the lid on tight and shake hard for 40 seconds, until the volume has grown by about a third. Take the lid off, and microwave for 30 seconds. The foam rises and sets while the milk underneath heats, which is the whole trick, and it is why the lid has to come off first.
Putting the drink together
Pour the coffee into a warmed 150–180 ml cup. Warm the cup: 50 ml of coffee in a cold ceramic cup loses several degrees before the milk arrives, and this drink has less thermal mass to spare than a large latte.
Groom the milk exactly as you would from a steam wand. Tap the jug once on the counter to burst the largest surface bubbles, then swirl until the surface goes glossy. Pour from a height at first so the liquid milk goes under the coffee, then drop close to the surface at the end to let the foam come out on top. You have about twenty seconds of properly pourable milk, so have the cup ready before you start.
Aim for roughly 50 ml of coffee, 50 ml of milk and 50 ml of foam. If it tastes thin, the coffee was not concentrated enough, so grind finer or use less water next time rather than more milk. If it tastes flat and cooked, the milk went too hot, and the fix is a shorter heat rather than a different milk.
One habit is worth more than any of the equipment above: treat the milk as the thing on a timer. The coffee can sit in a warm cup for a minute and lose very little. The foam cannot sit at all. So brew first, foam second, and have the cup in front of you before the plunger, the whisk or the microwave finishes, which is the same order a bar works in and for the same reason.
Frequently asked
- Is a moka pot cappuccino a real cappuccino?
- It is a cappuccino by ratio, not by definition. The drink is a third coffee, a third milk and a third foam, which is what a reader recognises in the cup. What is missing is the pressure, so there is no crema and the texture is thinner. That is a fair trade, not a failure.
- Which of the three foaming methods is best?
- The French press gives the most volume, a handheld frother gives the finest bubbles, and the jar is the one you always have. None of them match a steam wand, because none of them heat and aerate at the same time. Heat first, aerate second, in every case.
- Can I use the milk straight from the fridge?
- For the aerating, yes, and cold milk actually foams better. But every one of these methods aerates milk you have already heated, or heats it afterwards, because none of them can do both at once. Take it to about 60 °C and no further.
Related reading
How much caffeine is in your cup
A double espresso holds less caffeine than a mug of filter, and roast level barely matters. The numbers, and where the intuitions go wrong.
The café menu, decoded
Ristretto, lungo, cortado, batch brew, single or double: what a specialty café menu is actually offering, and how to order the cup you want.
Flat white or latte: what actually differs
Same two ingredients, two different drinks. The volume, the shot behind it and the milk texture all change, and each one follows from the first.