Buying guides
The milk kit: jugs, thermometers and frothers
Which jug for which drink, whether a thermometer earns its place, and what a frother can and cannot do when the machine has no steam wand.
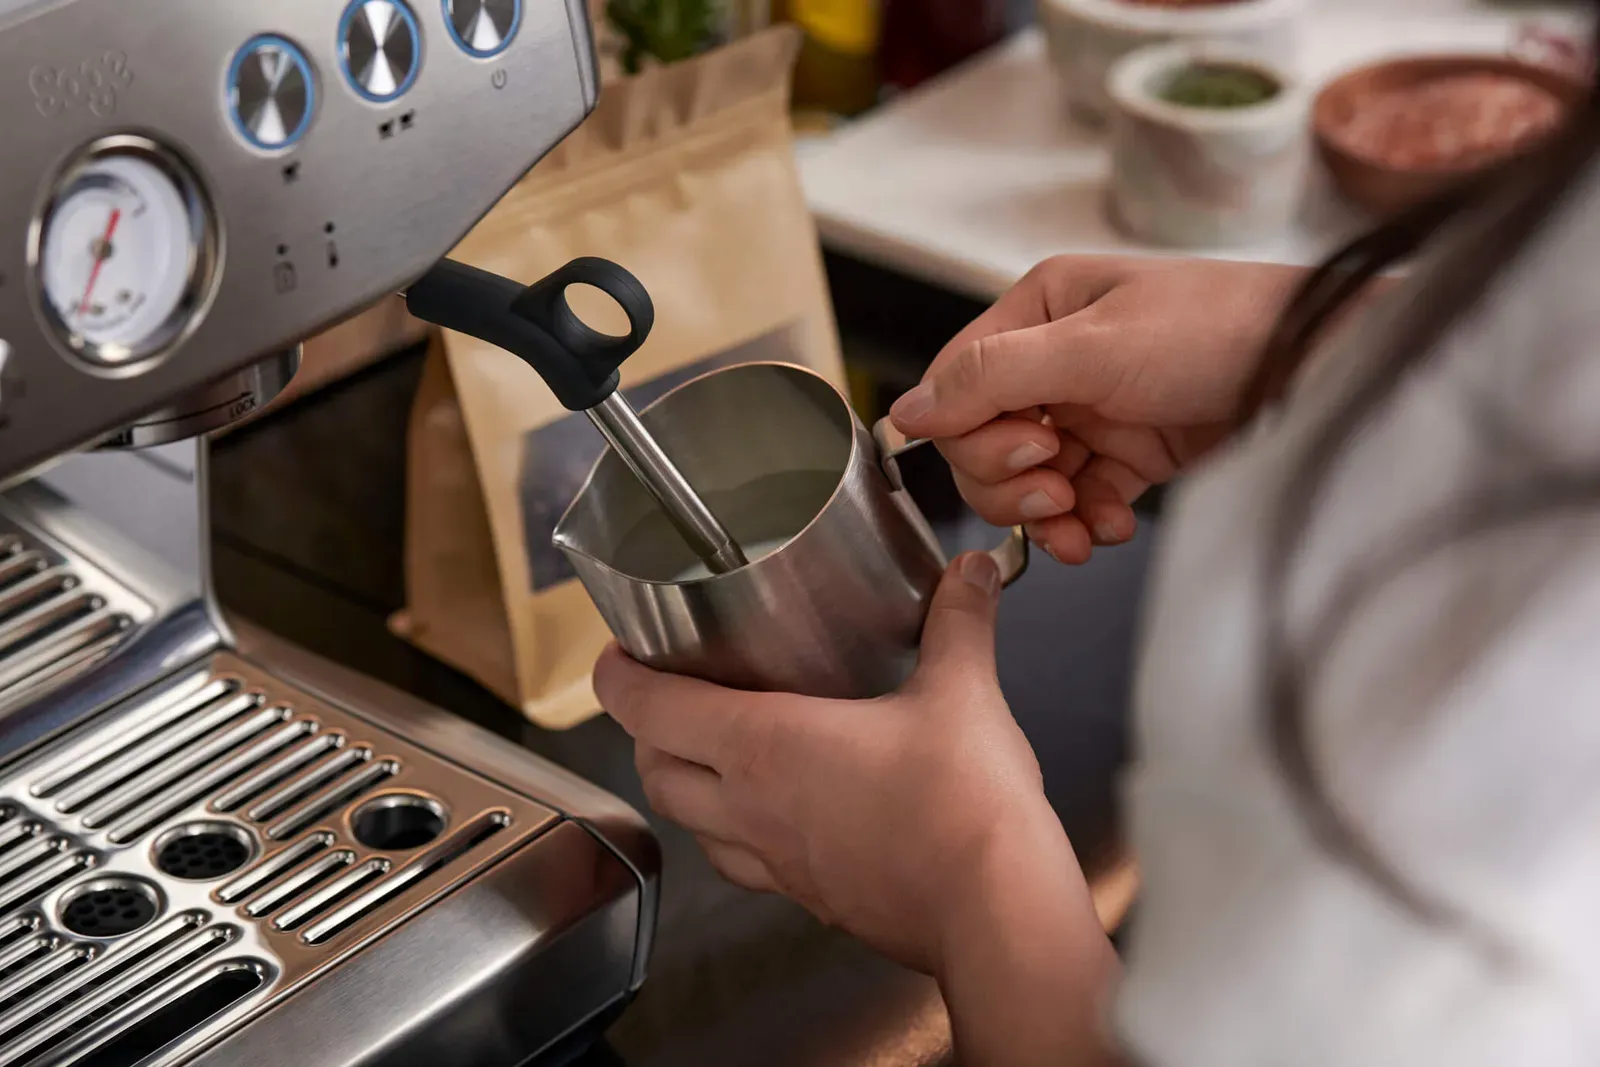
Stand at the end of a busy café counter for ten minutes and watch the shelf above the machine rather than the barista. There is a row of jugs in three or four sizes, and the hand that reaches up never hesitates: the small one for a flat white, a medium one for a cappuccino, the big one when two lattes go out together. At home, most people own exactly one jug, the one that came in the box, and it is usually the wrong size for what they make.
The technique of steaming and pouring is covered elsewhere on this site, in some detail. Latte art starts in the jug deals with the texture and the pour, why your milk foam collapses with the four ways it goes wrong, and which milk foams best with what is in the carton. This page is about the hardware, and about the honest limits of each piece.
The jug: size it to the drink
A jug works when the milk fills it to between a third and a half. Below that, the wand tip is barely covered and the milk will not turn into a whirlpool; above it, the milk grows over the rim as it stretches. So the jug follows the volume of milk, and the volume follows the drink.
| Drink | Milk to steam | Jug |
|---|---|---|
| Macchiato, cortado | 50 to 80 ml (you will pour less) | 150 to 250 ml |
| Flat white | About 100 to 120 ml | 350 ml |
| Cappuccino | About 120 ml | 350 ml |
| Latte | About 180 to 200 ml | 500 to 600 ml |
| Two cappuccinos or flat whites | About 240 ml | 600 ml |
Two honest notes on that table. The small drinks are the hardest to steam at home: a tiny volume heats in a few seconds on a strong wand, which leaves almost no time to aerate, and many bars simply steam more than they need and pour the rest away. And the wand changes things too. A powerful wand in a small jug is fast and unforgiving; a gentle one in a large jug is slow, which is easier to learn on but gives the milk less turbulence.
If you make one drink most of the time, buy one jug for it. A second size earns its place the day you start making drinks two at a time.
Spout, shape and wall
The spout is what you draw with. A sharp, pointed spout gives a thin, precise stream, which suits detailed patterns and the narrow lines of a rosetta. A rounder, wider spout pours a broader stream that is more forgiving and makes fuller, rounder hearts, and copes better with the thicker foam of a cappuccino. Either is far better than the generic rounded lip on a bundled jug, which spreads the stream and drops the foam in a lump.
The shape matters less than the marketing suggests. A jug that is slightly wider at the bottom than at the top helps the milk roll back on itself, but a straight-sided jug of the right size spins perfectly well. Measuring marks on the inside are worth having: they help you steam only what the drink needs, which is better for the milk and for the second drink.
The wall changes how fast the heat reaches your palm. If you judge temperature by hand, as most people end up doing, a new jug of a different thickness means a few days of checking yourself against a thermometer again.
Thermometer, sensor or hand
There are four ways to know when to stop, and each has a catch.
A clip-on dial thermometer is cheap and clips to the side of the jug. Its weakness is lag: the needle trails milk that is heating quickly, so by the time it reads 60 °C the milk is already past it. Stop a few degrees early, and check it in a glass of iced water now and then, since many have a small nut to reset the zero.
A colour-changing strip stuck to the jug is tidy and always there. It reads the steel rather than the milk and shows a band rather than a number, which makes it a rough guide rather than a measurement.
A sensor in the machine is the easiest of all. Automatic wands, such as the one on the Bambino Plus in our under $500 guide, read the milk and stop on their own.
Your hand is what every bar uses. Dairy milk is ready at about 60 °C, and that is roughly where the jug becomes uncomfortable to hold. Barista oat and other plant milks want to stop cooler, closer to 55 °C, so cut the steam as the jug turns hot rather than painful. A thermometer is how you learn where those points are. After a few weeks, most people stop reaching for it.
No steam wand: the frothers, honestly
Plenty of good milk drinks are made at home without a wand, as a cappuccino without an espresso machine shows step by step. The tools differ in what they can do, and none of them quite matches a wand.
Electric jug frothers, most of them spinning a magnetic whisk in a heated jug, are the most consistent option. One button, a minute or two, and the milk comes out hot and foamed the same way every time. The foam is thicker and drier than wand microfoam, which suits a cappuccino with a proper cap and does not pour a pattern. You rarely choose the temperature, the capacity is one or two drinks, and the coated inside wants gentle cleaning straight after use.
A handheld battery whisk is the cheapest tool worth owning and makes the finest bubbles of the three, if you use it in two stages: draw air in just under the surface, then sink it and let it break the bubbles down. It does not heat anything, so the milk is warmed first in a pan or a microwave, and its small motor struggles with more than a cup or so.
A French press you may already own makes the most volume. Warm the milk, pump the plunger briskly with the mesh kept under the surface, then tap and swirl. The bubbles are a little coarser, and the press has to be scrupulously clean, or yesterday’s coffee is in today’s milk. Dedicated manual frothers with a mesh plunger work the same way.
| Tool | Heats the milk | Texture | Pours latte art |
|---|---|---|---|
| Steam wand | Yes | Glossy microfoam | Yes |
| Electric jug frother | Yes | Thick, drier foam | Rarely |
| Handheld whisk | No | Fine, if done in two stages | Simple shapes at best |
| French press or pump frother | No | Coarser, plenty of it | Rarely |
If your machine has a wand, none of these is needed. If it has a frothing sleeve over the wand, take the sleeve off before buying anything else.
Which milk, in one paragraph
Whole milk is the default for good reason, barista oat is the plant milk that behaves most like it, and the ordinary carton of any plant milk is built for cereal rather than steam. Which milk foams best has the reasons and the table. The one practical point that belongs to the kit: milk straight from the fridge gives you the longest aeration window, whatever tool you use, so keep it cold until the moment you steam.
What to buy, in order
A jug with a defined spout, sized to the drink you make most. A thermometer for a month if your machine has no sensor, then the drawer. A second jug once you make two drinks at a time. A cloth kept only for the wand. A frother only if there is no wand at all. The rest of the bench is covered in the barista kit worth buying, and the drinks themselves in the cappuccino and flat white recipes.
Frequently asked
- What size milk jug should I buy first?
- The size that matches the drink you make most. About 350 ml for one flat white or cappuccino, 500 to 600 ml for a latte or two drinks at once. Milk should fill the jug to between a third and a half, or the wand cannot spin it.
- Can an electric frother make milk for latte art?
- Most cannot. They make a thicker, drier foam that sits on the milk rather than folding into it, which is fine for a cappuccino-style cap and poor for pouring a pattern. Latte art needs the glossy microfoam a steam wand makes.